Report Wizard is used to set up a Crystal Report to be used in Track.
With the Report Wizard, user can perform the following tasks.
In order to access the Report Wizard, the profile rule that includes
the ability to add a report must be assigned to the user. Contact Track
Coordinator for more information.
From the Report Wizard, click Next
to open the Report Actions screen.

The Add a new report to Track
option is selected by default. Click Next
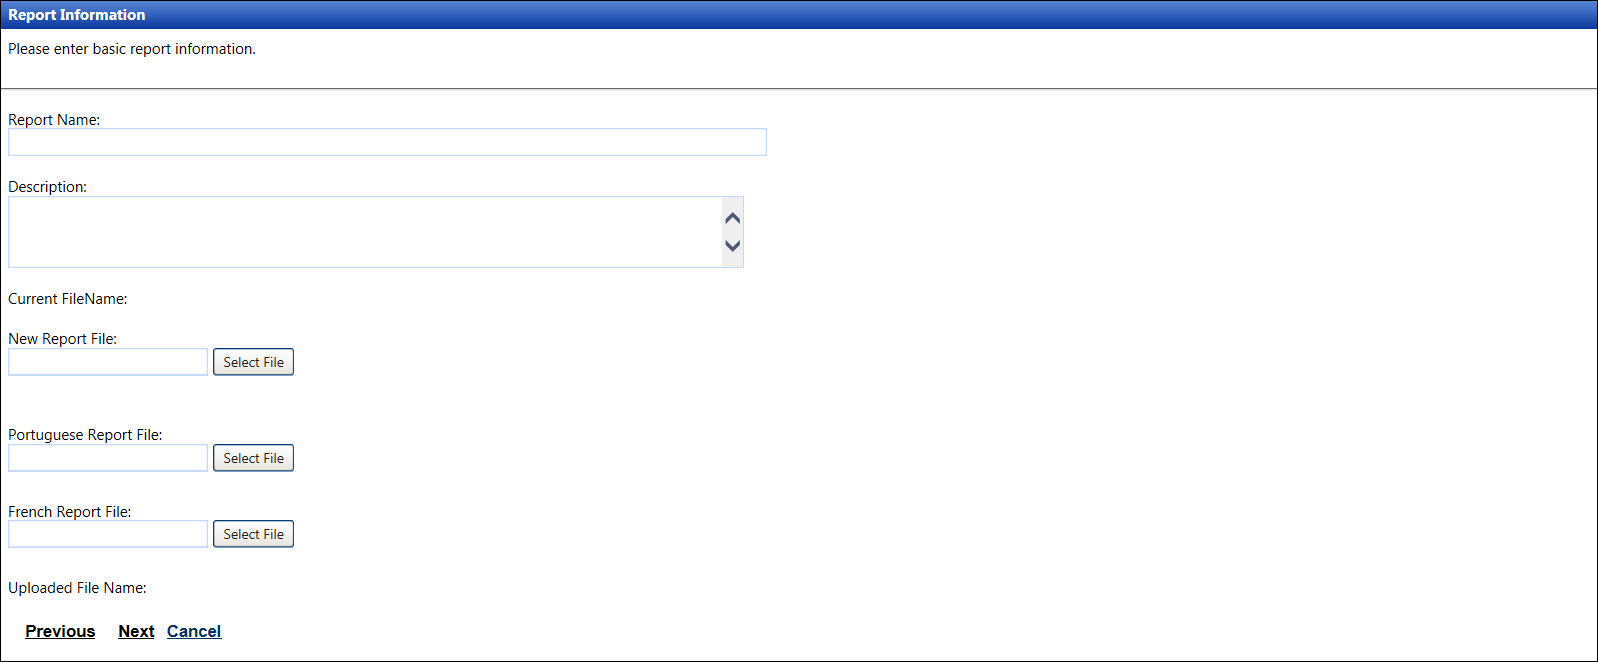
to open the Report Information screen.

Enter a new report name into the Report
Name text box.
Enter its description into the Description
text box.
Click the Select File
button, located next to the New Report File text box, to open the
File Explorer.
Locate and select a report file. The selected report's file
path is displayed in the New Report
File text box.
Click Next to open the
Control Select screen.

Click one or more checkboxes to enable the data filters for
the new report.
Click Next to open the
Data Selection Filter screen. Refer to Examples
of Data Selection Filter Criteria for information and examples
of data selections.

Enter the table and field name of the report filter which are
related to the enable checkboxes from previous screen. Ensure the
table and field names are within the braces and are separated by a
period.
Type in an equal sign or an appropriate comparison symbol at
the end of the brace.
Select a placeholder option from the Insert
Placeholder For drop-down list. The selected placeholder appears
after the equal sign.
For example, if the Enable Select
of Organization checkbox is selected, then the Data Selection
Filter should be {Personal.company_code}=%c

Type in the word and
after the first filter then repeat the steps to enter another table
and field names.
For example, if another data filter is added, then the Data Selection
Filter should be {Personal.company_code}=%c
and {Skll_Type_Assignments.contract_id}=%n

Click Next to open the
Reports Page Controls Text screen.

Select a text box option for the new report setup from the Insert Placeholder For drop-down
list.
For example: Organization=?|
Replace the question mark with a new text box name, such as
Company.
For example, Organization=Company|

Click Next to open the
Update Track Database screen.

Click Next to open the
Next Step screen.

The Yes option is selected
by default. Click Next to
add or modify another report. The new report is saved and the Welcome
to the Track Report Wizard screen opens. Otherwise, click the No button then click Next
to open the Complete Track Report Wizard screen.

Click Finish to save
the new report and return to the Welcome to the Track Report Wizard
screen. Refer to Report Categories
in the Track Admin v6.3 user documentation to add the report to the
appropriate report category.
From the Report Wizard, click Next
to open the Report Actions screen.
Select the Change an existing
report in Track button.
Click Next to open the
Select Report screen.
Select a report from the drop-down list.
Click Next to open the
Report Information screen, displaying the selected report information.
Make changes to the report name, description, and/or select
a report file.
Click Next to open the
Control Selection screen.
Select or deselect the checkboxes to enable or disable the data
filters for the selected report.
Click Next to open the
Data Selection Filter screen.
Edit the table and field names according to the selected enable
data filters.
Click Next to open the
Report Page Controls Text screen.
Make the changes accordingly.
Click Next to open the
Update Track Database screen.
Click Next to open the
Next Step screen.
The Yes option is selected
by default. Click Next to
add or modify another report. The modifications of the selected report
are saved and the Welcome to the Track Report Wizard screen opens.
Otherwise, click the No
button then click Next to
open the Complete Track Report Wizard screen.
Click Finish to save
the modifications and return to the Welcome to the Track Report Wizard
screen.
Once the selected report is removed from Track and Track Admin, the
Crystal Report still exists at the original saved location.
From the Report Wizard, click Next
to open the Report Actions screen.
Select the Remove a report
from Track button.
Click Next to open the
Select Report screen.
Select a report from the drop-down list.
Click Next to open the
Report Information screen.
Click Next to open the
Update Track Database screen.
Click Next to open the
Next Step screen.
The Yes option is selected
by default. Click Next to
add or modify another report. The selected report is deleted and the
Welcome to the Track Report Wizard screen opens. Otherwise, click
the No button then click Next to open the Complete Track
Report Wizard screen.
Click Finish to delete
the selected report and return to the Welcome to the Track Report
Wizard screen.


